I decided to move my blog from WordPress.com to a self-hosted WordPress. Although it’s been a couple months since the last post here, I want to pick up the rhythm. Karim Vaes picked up his blogging after I nudged him, so I couldn’t stay behind. Before I explain the how though, let me give you a brief explanation to the why I moved over the blog:
Why I decided to move my blog to a self-hosted WordPress.
Recently I’ve gotten very good mentorship at Microsoft via our Technical Leadership Development Program. One of the key messages from my mentors and the program have been to be more vocal and work out loud more often. Writing regular blog posts is just one way to accomplish this and certainly a powerful one.
I took the advice from my mentorship panel – and did some research on what my role models had to say about this. Two of my role models, Scott Hanselman and James Whittaker, are very clear is giving advice as to why you want to blog more and why you want to get out there. The following might be some good reads for you if you are also considering blogging some more:
- https://www.hanselman.com/blog/ASocialMediaBrandPrimerManagingYourPersonalBrandWithTwitterFacebookLinkedInYouTubeEtc.aspx
- https://www.hanselman.com/blog/YourBlogIsTheEngineOfCommunity.aspx
- https://www.hanselman.com/blog/YourWordsAreWasted.aspx
- https://www.youtube.com/watch?v=KOrqFYGuPz0
- (for the MSFT folks reading this, there is a great internal 3 hour talk on career as well. Ping me if you want the link)
Scott is also very vocal about owning your own words and putting skin in the game (aka paying to host your blog). So I decided to listen to his words, and move my blog from a free wordpress.com plan to a self-hosted one. I might at one point decide to move it back to wordpress.com and get a paid plan, as I believe in SaaS before PaaS before IaaS and wordpress.com gives you great hosting with little management headache. With that being said, doing the hosting myself for the time being and keeping things like WordPress and SSL certs up to date will be an interesting learning experience.
And if you want to learn with me, let me share you how I moved my blog from wordpress.com to a self-hosted WordPress on Azure.
Options for hosting your own WordPress on Azure
As with any application, architecture is important. Even for hosting WordPress on Azure there are multiple options – and you need to consider which one you want to pick. First choice is the compute option, second choice is your database hosting (the default platform for WordPress is MySQL).
For the compute portion, you have a ton of options:
- Virtual Machine, either from an image or build your own
- App Service
- Container in AKS
- Container on ACI
I decided on hosting this blog on App Service for a couple reasons. First, App Service is a PaaS platform, meaning you get more ‘managed service’ than with a traditional VM. No need to take care of OS updates, auto-scaling is very easy for you, even setting up your own domain is pretty straightforward.
Having landed on App Service for WordPress hosting, you have a couple options for the database hosting:
- MySQL on a VM
- Azure DB for MySQL
- In App DB (basically hosting your MySQL DB on your App Service servers)
- MySQL in a container on AKS
For this choice, Azure DB for MySQL was a winner for me. The service manages both the OS and the DB layer, provides monitoring and management, gives you backup and recovery, and makes it easy to scale up or out (no auto-scaling yet).
Setting up WordPress on App Service and Azure DB for MySQL
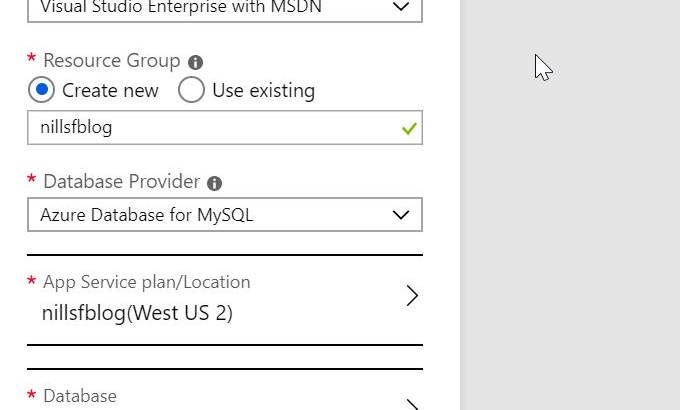
My first stop when looking to run a new app on Azure is to start of with the Marketplace. And yes, there are a ton of options to host WordPress on Azure in the marketplace, including one that creates an App Service and an Azure DB for MySQL (this must be my lucky day!).

This means it is as easy as filling in the right info and selecting the rights regions to spin up your new blog. It’ll then take a couple minutes (about 3 in my case) to set everything up, including the database setup and the connection between WordPress and MySQL. And with that you’re all set to blog!


Setting up domains
Before diving into WordPress, I decided to (finally) purchase the nillsf.com domain and use that for the blog. I buy all my domains from namecheap.com. They are a cheap provider for domains (and if I’m personally paying cheap is better), and often have very cheap (less than 2$) domain options if you’re simply testing some stuff out. I once owned the franssens.pro domain for 2$ – and used that for some tests with DNS a while ago. This time however I went for a .com domain, which set me back 9$.

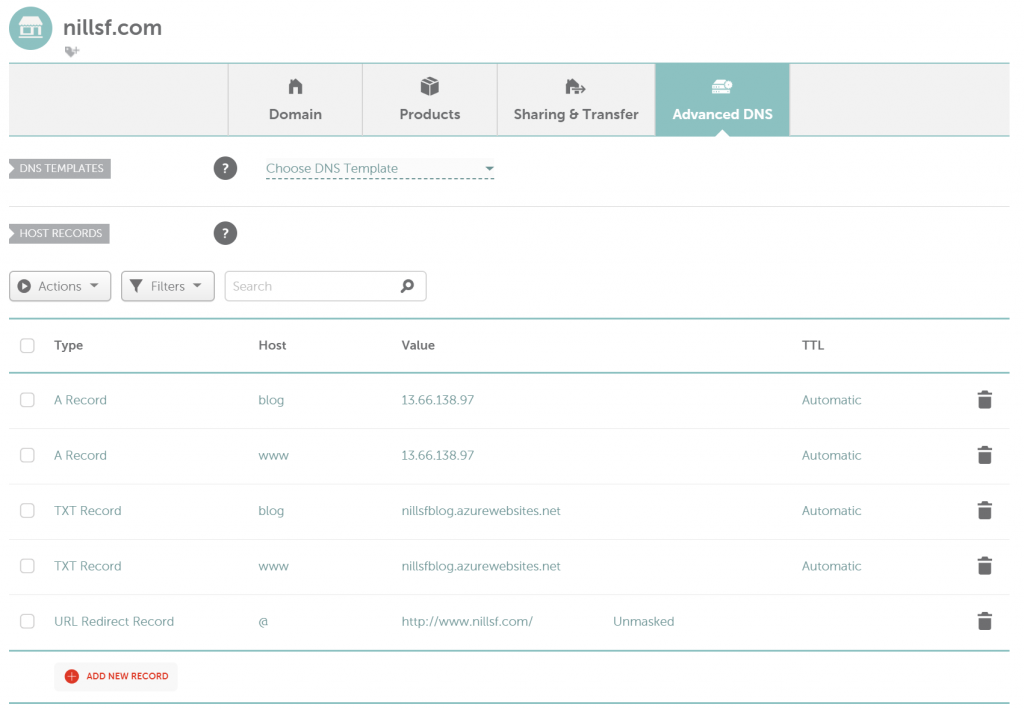
To link my blog on App Service to my domain, I needed to setup the right DNS records in the namecheap console and have Azure do verification that I owned the domain. This all took just a couple of minutes.
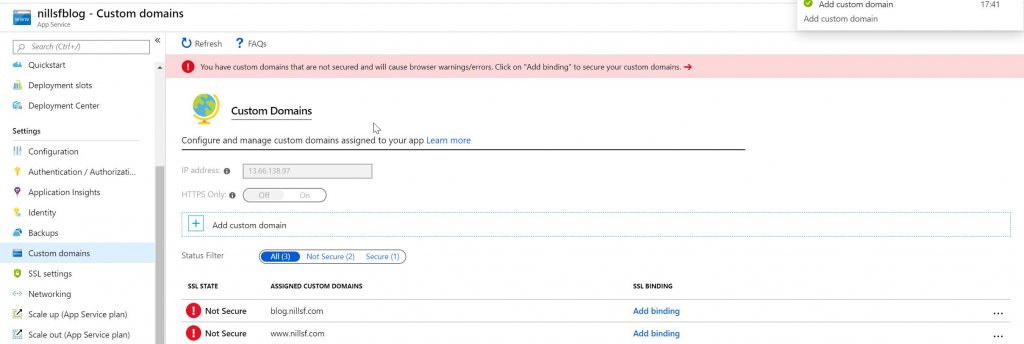
App Service comes with built-in SSL for the azurewebsites.net domain and subdomains, but this certificate doesn’t help with you website. App Service does sell you certificates, but at 75$ a year I prefer the challenge to setup Let’s Encrypt and get free (and automated!) SSL certs. I’ll cover that in the next blog post, as I first wanted to get things online (don’t let perfect be the enemy of good). (btw. In this day and age, don’t put anything critical online without SSL!)

But, with that, I have a WordPress blog that’s ready for content. Let’s migrate that content over!
How to export from wordpress.com and import into your own WordPress
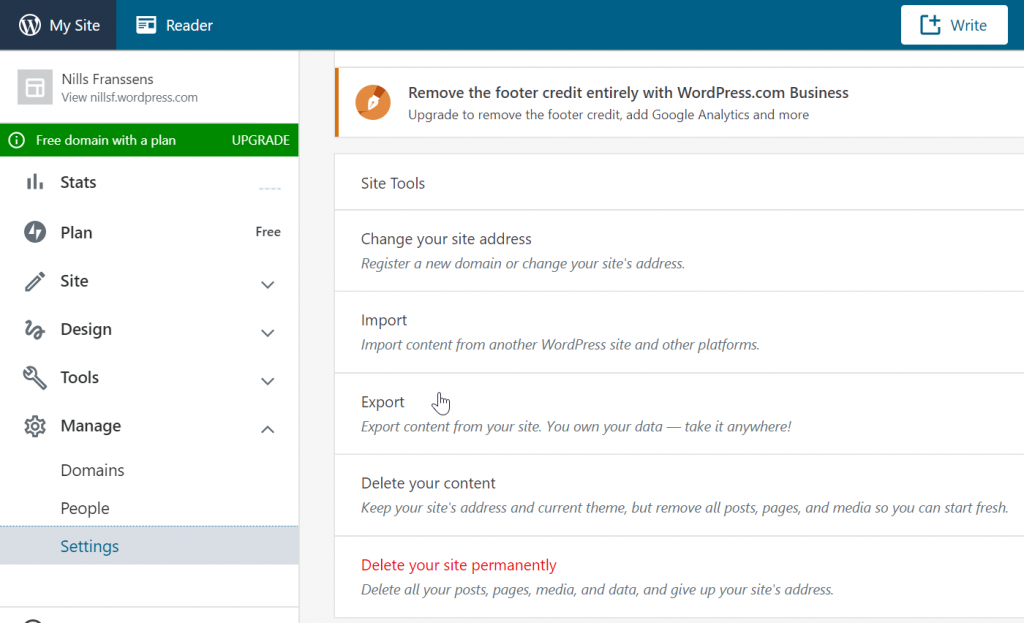
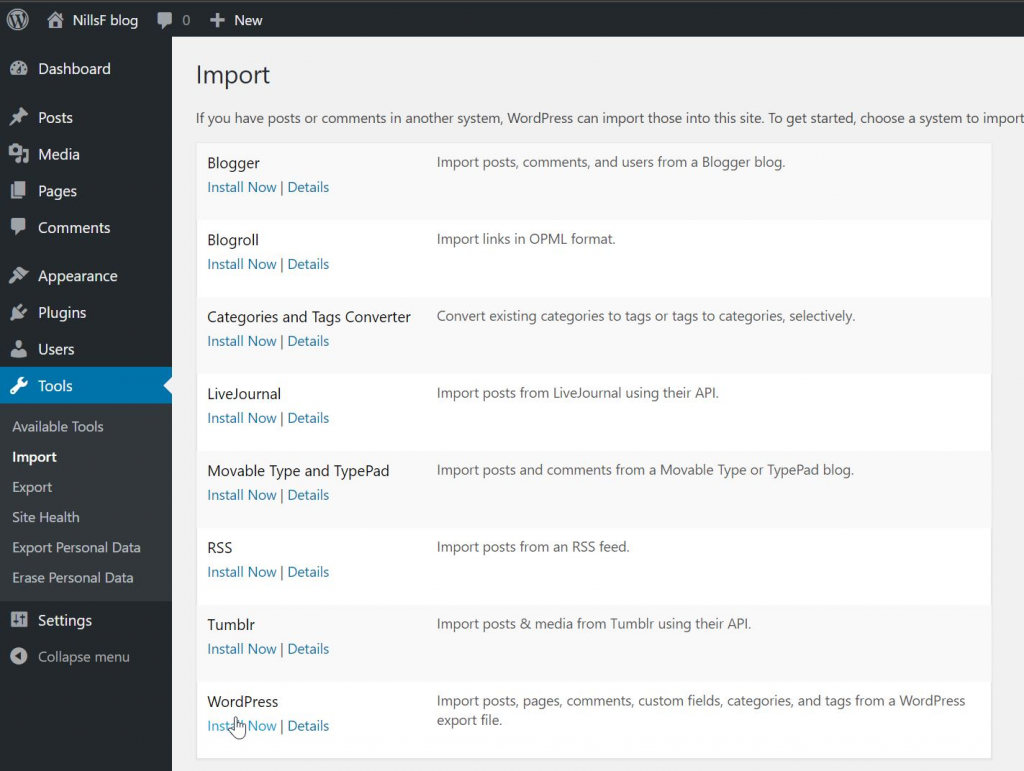
It is surprisingly easy and straightforward to export your content from wordpress.com and import into your WordPress. The export itself is an option in the control panel on WordPress.com. This gives you a XML file in a ZIP container that contains all your blog posts (without media files). On your new WordPress you can then import that XML file (not the zip file however) and have WordPress fetch your media files.

With that out of the way, you can admire your old content on a new platform. The only thing remaining is to keep on blogging and create new content!
In closing
It was an easy process to setup WordPress on App Service with Azure DB for MySQL to host the content (I didn’t even need to touch PHPMyAdmin!). Getting a domain and linking that was straightforward as well, though that broke SSL. Moving the content also worked out well, so I’m a happy blogger now!
Next up, automating Let’s Encrypt SSL certificates on App Service!
Excellent details and good to know the steps of moving from WordPress to under my own app service plan.