Before the holidays, I blogged about sharing blob storage data with AAD B2B guests. Peter Demeyere mentioned to me on LinkedIn that he likes to use Azure Data share to share blob data, as it has some more tracking data built in. And funnily enough, during my long run this weekend, I listened to an Azure podcast about Azure data share, so why not give it a spin?
What is Azure Data Share?
Azure Data Share is a service that enables you to easily share data in Azure and track get greater control over your data sharing relationship. The service was announced in preview in July 2019 and went GA in November 2019 (must be close to record pace). Azure Data Share doesn’t only support blob and ADLS, but also SQL DBs and Azure Data Explorer (in preview)
For now, when you use Azure Data Share, a snapshot of the source data will be taken. This means that the moment you accept a data share invite, you must provide it with a target storage account and you’ll create a copy of your data in your own environment. Additionally, you can configure snapshot schedules to receive incremental updates of the data as well.
Seems pretty straighforward. Let’s give it a spin.
Working with Azure Data Share
In my scenario, I’ll setup an Azure Data Share in my Microsoft subscription, and share data with my MSDN account. Let’s start with setting things up in my Microsoft subscription.
Data Share is integrated into the portal. Just look for Data Shares, or use this link. We’ll start by adding a new one.

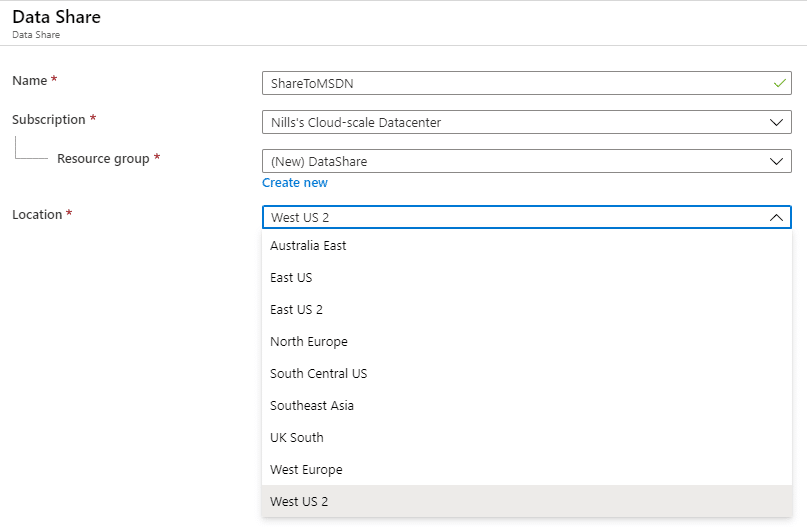
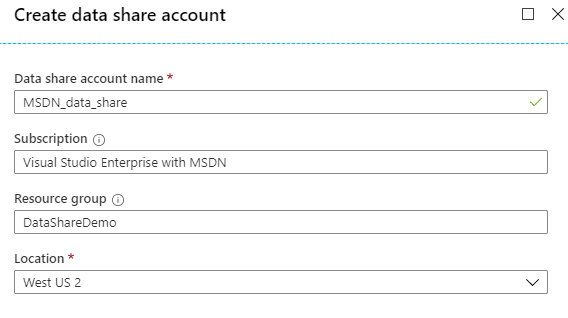
The creation process is a single pane in the Azure portal. What I noticed here is that the Data Share service isn’t available in all regions. Luckily for me, my primary region (West US 2) is available, so I’ll create it there.
This took me about 2 minutes to complete, let’s now go in and configure our data share.

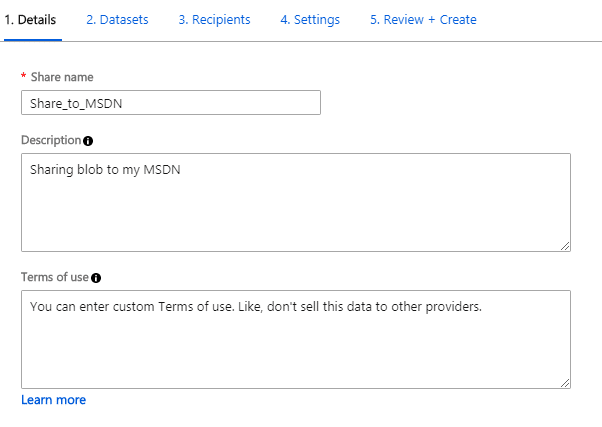
This gives us a 5 step data share creation. Step 1 is giving the share a name, a description and potentially custom Terms of use.
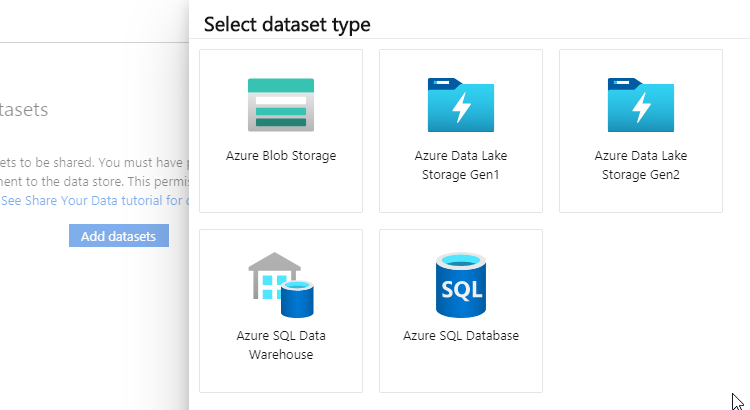
Next we’ll want to add our Datasets. We’ll select Blob storage here.
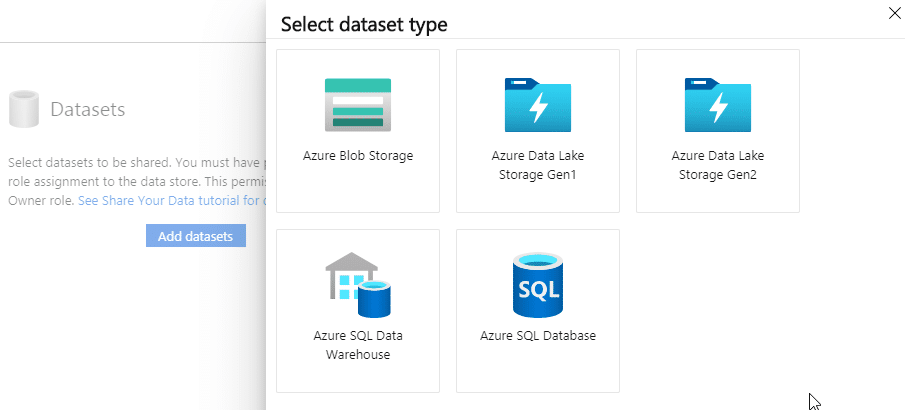
Next, you can select your storage account, your containers or even “subfolders” you might want to share with your data consumers. (I put subfolders in quotes, since blob doesn’t actually have a folder strucuture. But that’s a minor detail.)
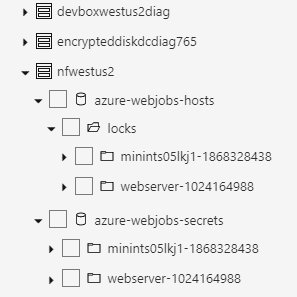
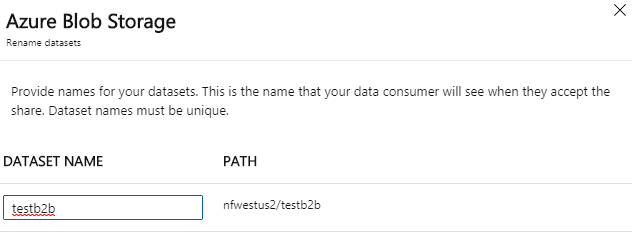
I ended up selecting the same container we shared in the earlier post, called test2b2. Finally, you’ll give your dataset a name (which can be different from the actual data name) and step 2 is done.
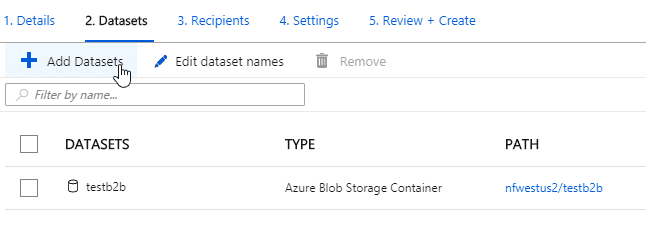
It appears you can actually share multiple datasets in one single Data Share request.
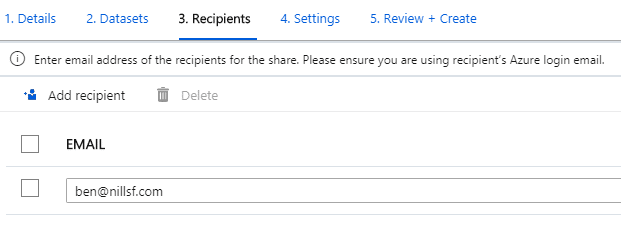
Next, you’ll want to enter your recipients. In my case, this is going to be my alter ego Ben.
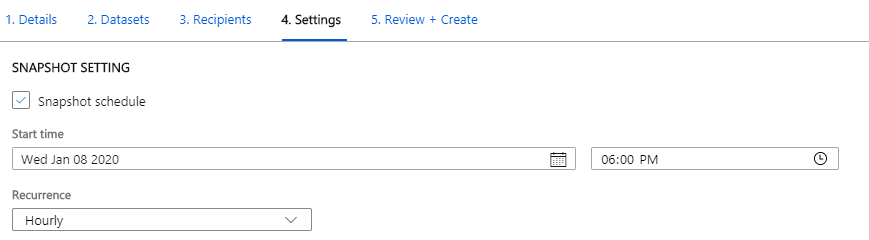
You can optionally also set a snapshot schedule, either daily or hourly. I decided to set one up hourly.
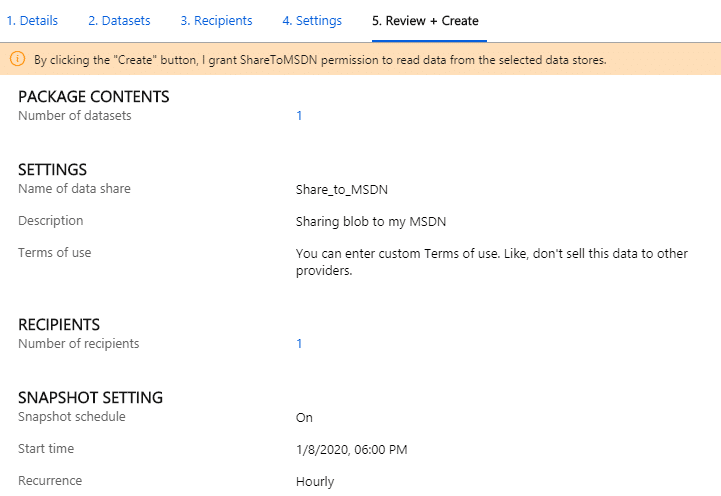
Creating the actual data share only took a couple a seconds. Now I need to login to the Azure portal, and see if Ben can get to his data share.
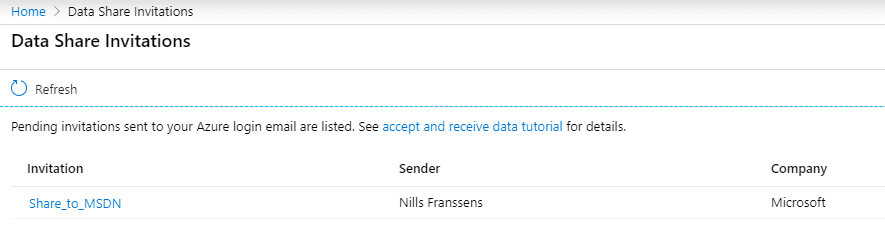
When I log in as Ben and head on over to Data Share invites, I can actually see the invite I just sent myself.
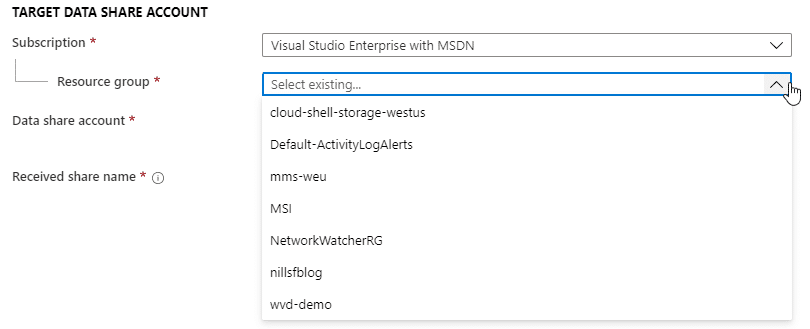
Next up I need to configure a data share in my MSDN. One thing that annoys me here is that I cannot create a new resource group from this blade. So I first go ahead and create a new resource group.
Next up, I can create (from this blade) my Azure Data Share resource. However, I get an error here that the namespace is not registered.
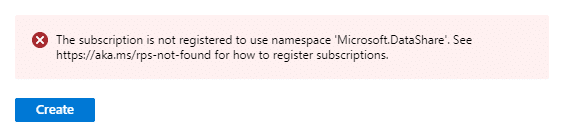
No biggy, just head on over to the subscription blade and register the resource provider.
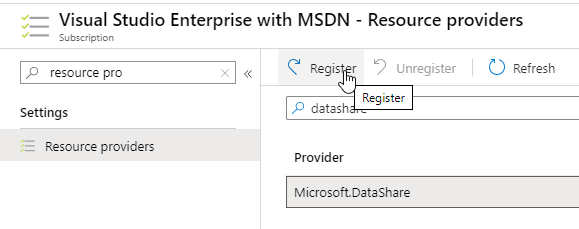
Once the RP is registered, we can hit Create and wait for the Data Share resource to be created. Again, this takes a couple minutes to complete. After that, we can accept our invite.
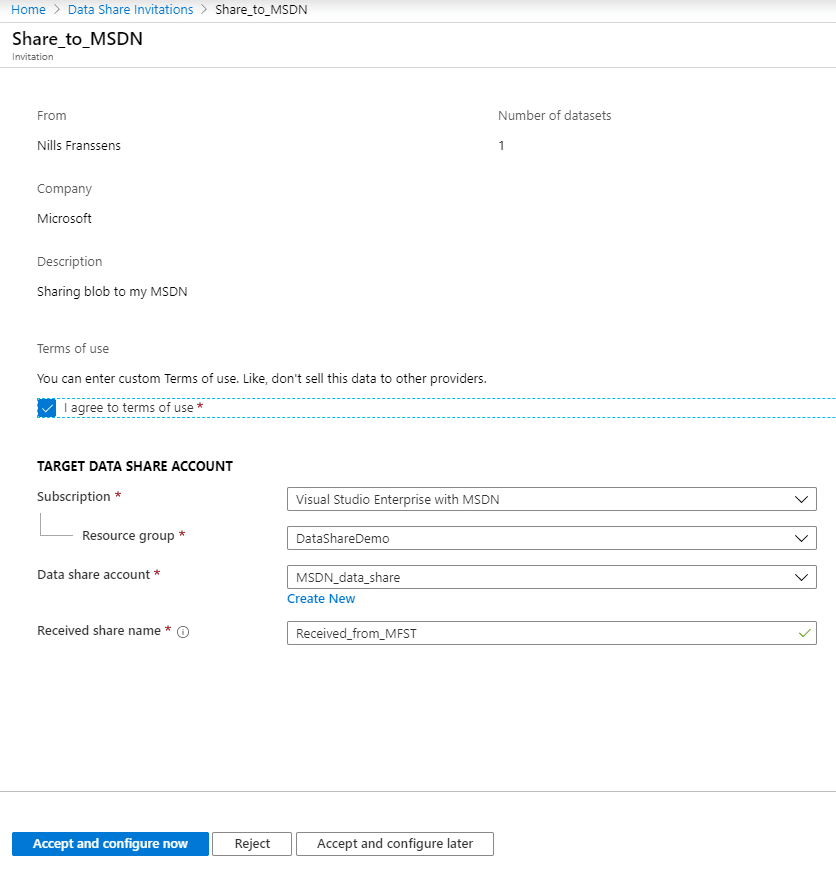
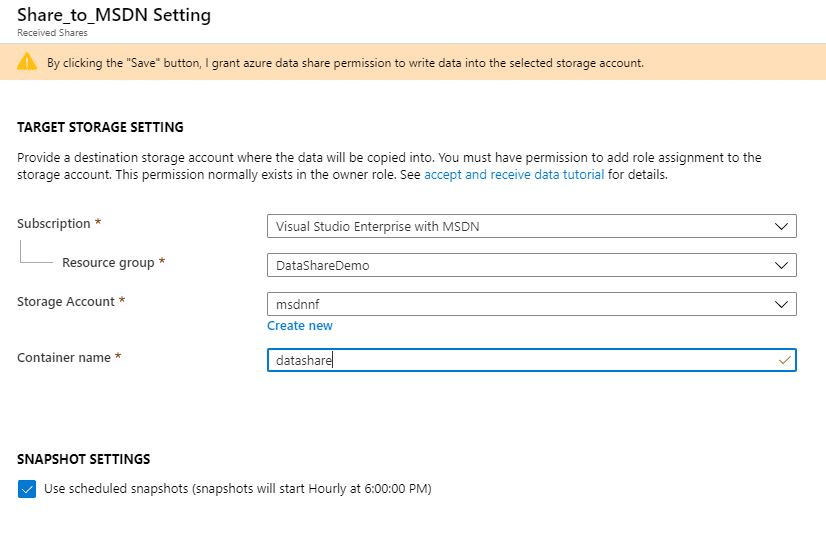
Next up, we’ll select our target storage account. I decided to create a new one for this demo.
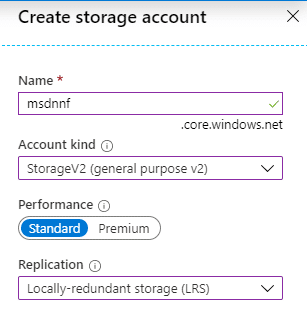
And with that, we have all our settings for the actual data share receiver.
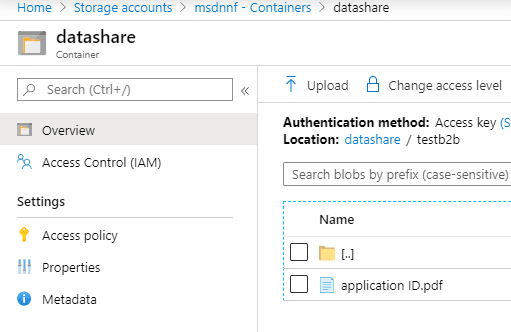
With that out of the way, our data should be getting copied at the scheduled snapshot time (which will be on the hour). And sure enough, my data did show up.
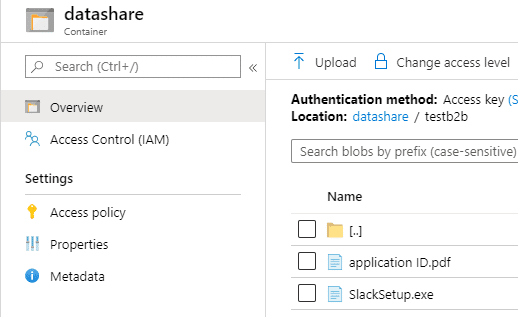
I decided to add a new file to the source storage account, and wait for the hour for the snapshot to be taken to see all my new data appear.
And, as I was expecting, the data actually showed up at the hour (2 min after the hour actually).
From a data provider perspective, I can now see the full history of all data copies that happened.

Conclusion
Azure Data Share enables you to easily share data with external users. The external user doesn’t get direct access to the source data, but rather gets a copy in their own storage account.
The experience of setting up the share was pretty straightforward. Accepting the invite had a couple hick-ups, but in the end I think the service is pretty easy to use.