I recently re-imaged my laptop to a clean Windows 10. I haven’t yet taken the time to re-setup my Linux setup on top of Windows 10. In this post, I’ll walk you through how to setup WSL2, in combination with the (new) Windows Terminal and oh-my-zsh.
WSL stands for the Windows Subsystem for Linux. WSL has brought a Linux kernel to Windows 10. WSL2 is the new version of WSL, available to only Windows insiders for now . It drastically improves performance, as it no longer translates kernel calls, but rather runs in a micro-VM on top of Hyper-V.
The new Windows terminal is an improved terminal announced by Microsoft at Build 2019. Is allow multi-tabbed terminals, can connect to multiple run-times (PowerDhell, WSL, cloud shell) and is heavily customizable.
Oh-my-zsh is a terminal tool that allows you to pretty up your Linux terminal. It can do pretty color printing, show git status and much more.
Let’s get started and set this up.
WSL2
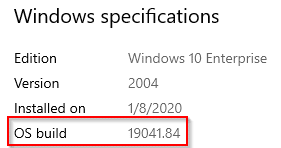
In order to run WSL2 you need to be a Windows Insider and be on at least on version 18917 or higher. To check your Windows version, hit Windows Key + x and click on system. There you’ll see your Windows version:
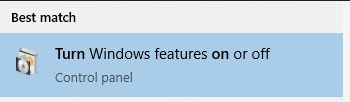
To run WSL2, you’ll need to enable to additional Windows features: Hyper-V and WSL. To get both up and running, look for “Turn Windows features on or off” in the start menu:
In that window, make sure to select both HyperV and Windows Subsystem for Linux.
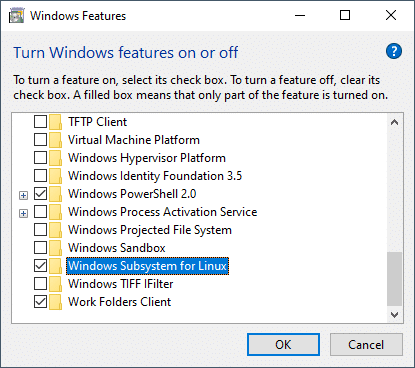
If you have those selected, click OK and go through with the reboot of your system.
After the reboot, we’ll go ahead and install our favorite Linux distro. Open the Microsoft store, and look for your distro (Ubuntu in my case).

Hit the install button, and give it a couple of minutes to download and install. Once installed, hit the ‘Launch’ button, to start your Ubuntu. This will trigger an installation, which will take another couple of minutes.

Once the installation is complete, you’ll get prompted for a username and password. Fill that in, and your Linux installation will be complete.
Now, we’ll go ahead and switch this installation from WSL1 to WSL2. To do this, open a (regular) command line, and execute the following commands:
wsl -l -v
wsl --set-version Ubuntu-18.04 2
This will convert our WSL1 to a WSL2. We can verify the conversion was successful, with the following command:
wsl -l -vWith that done, we have our WSL2 setup. Next up, setting up the Windows Terminal.
Windows Terminal
Installing the Windows Terminal isn’t too difficult. Simply head over to the Microsoft store, look for Windows Terminal, and hit the install button.
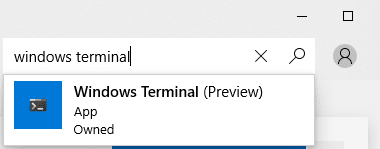
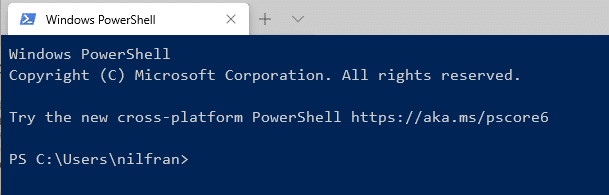
Give this a couple minutes to install, and then you can launch the terminal. The default shell in the terminal is PowerShell.
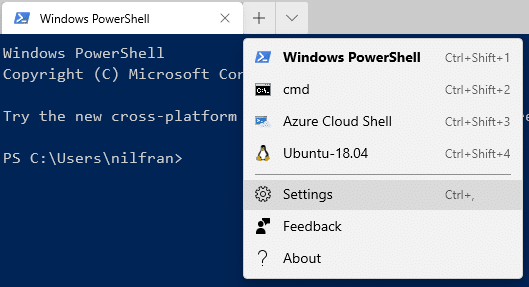
I want to change this to WSL2. To edit this, go to the Terminal settings file.
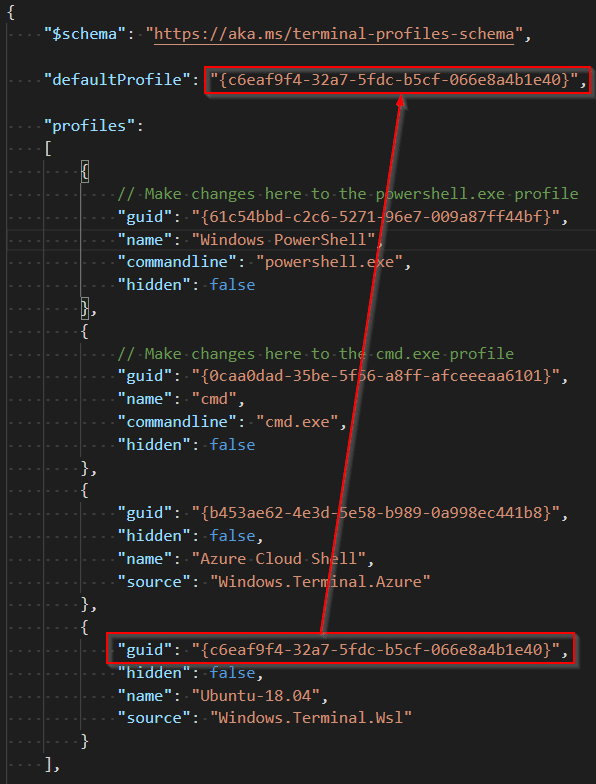
This opens up the settings file. Copy the GUID from the Ubuntu config and paste that in the defaultProfile:
Save this file, and then reload the terminal. This should now open a WSL terminal.
Oh my zsh setup
Finally, we’ll go ahead and setup oh my zsh. Let’s start with setting up the prerequisites:
sudo apt update
sudo apt install git zsh -y
With the prerequisites installed, we can go ahead and install Oh my zsh:
sh -c "$(curl -fsSL https://raw.githubusercontent.com/ohmyzsh/ohmyzsh/master/tools/install.sh)"This will ask you if you want the switch your shell to zsh. Hit yes.
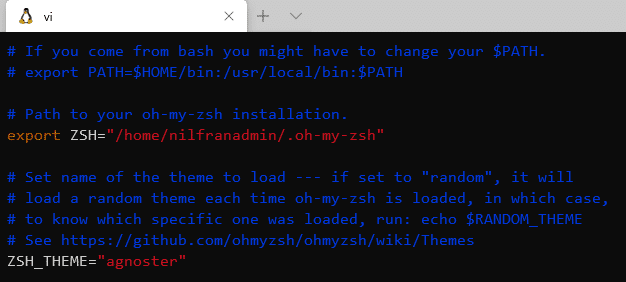
Next up, we’ll want to pick a fancier theme (if you feel like it). The agnoster theme is a popular one. To change the theme, edit the ~/.zshrc file and input the agnoster theme there.
Reload your Terminal now. You will see that the visual isn’t perfect just yet. First thing we’ll do is edit the color setup of your Terminal. To edit this, open up the settings file for the Terminal again. We’ll make two changes:
- Add a custom scheme.
- Link that scheme to our WSL terminal.
To add the scheme, paste the following code into schemes:
    "schemes": [
        {
            "background" : "#002B36",
            "black" : "#002B36",
            "blue" : "#268BD2",
            "brightBlack" : "#657B83",
            "brightBlue" : "#839496",
            "brightCyan" : "#D33682",
            "brightGreen" : "#B58900",
            "brightPurple" : "#EEE8D5",
            "brightRed" : "#CB4B16",
            "brightWhite" : "#FDF6E3",
            "brightYellow" : "#586E75",
            "cyan" : "#2AA198",
            "foreground" : "#93A1A1",
            "green" : "#859900",
            "name" : "wsl",
            "purple" : "#6C71C4",
            "red" : "#DC322F",
            "white" : "#93A1A1",
            "yellow" : "#B58900"
        }
    ],
Then, look for the configuration of you WSL, and add a line that says: "colorScheme" : "wsl" :
        {
            "guid": "{c6eaf9f4-32a7-5fdc-b5cf-066e8a4b1e40}",
            "hidden": false,
            "name": "Ubuntu-18.04",
            "source": "Windows.Terminal.Wsl",
            "colorScheme" : "wsl"
        }
Save this file and look back at your Terminal. The color scheme should have changed now. Final step remaining is installing a Powerline font that allows special characters. To do this, open up a PowerShell window as adminstrator. Navigate to a folder where you can execute git clone.
mkdir c:/fonts
cd c:/fonts
git clone https://github.com/powerline/fonts.git
cd fonts
.\install.ps1
That final step, will install the fonts onto your Windows installation. To have the Terminal use the newly installed fonts, we’ll need to add another line to our Terminal configuration:
{
"guid": "{c6eaf9f4-32a7-5fdc-b5cf-066e8a4b1e40}",
"hidden": false,
"name": "Ubuntu-18.04",
"source": "Windows.Terminal.Wsl",
"colorScheme" : "wsl",
"fontFace" : "DejaVu Sans Mono for Powerline"
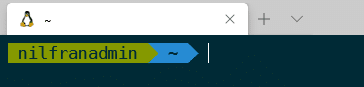
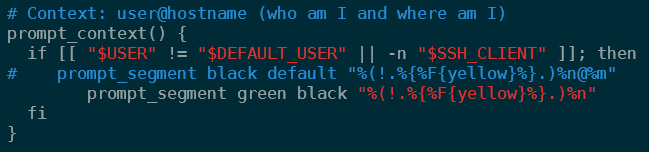
}This is starting to look a bit better. There is one final change that I like to make personally, that changes my username background color and no longer shows the machine name. To do this, open up the agnoster theme file
vi ~/.oh-my-zsh/themes/agnoster.zsh-themeand change line 92:
prompt_segment green black "%(!.%{%F{yellow}%}.)%n"Which should make it look like:
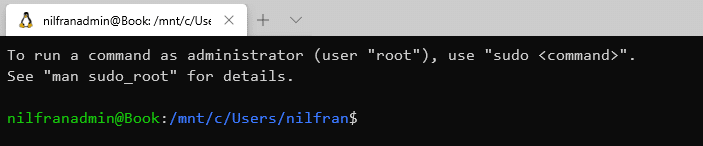
Save the file, and open up a new terminal. This should look like this:

One final thing I want to change here is to open the shell on the Linux home directory, not the Windows home directory. To do this, add this line to the ~/.zshrc file.
cd ~
This should make your terminal look like:

Which is what I was looking for.
Summary
In this post I explained how I setup my development environment using WSL2, Windows Terminal and oh my zsh. There are many ways to configure oh my zsh, and I only covered my personal flavor.