GitHub Codespaces is a way to get a fully powered Visual Studio Code experience in the browser. It’s your cloud-enabled development machine, without needing anything but a web browser. It’s currently in beta and I got access a couple weeks ago. Today, I wanted to give it a spin.
Rather than provide a simple demo, I actually had a use case for this. I run some of my own COVID-19 analysis in the Bay Area. I used to run this on Azure Notebooks, which is discontinued (never made it out of preview). So, I’ll be taking my notebook and run it on GitHub Codespaces.
Getting started
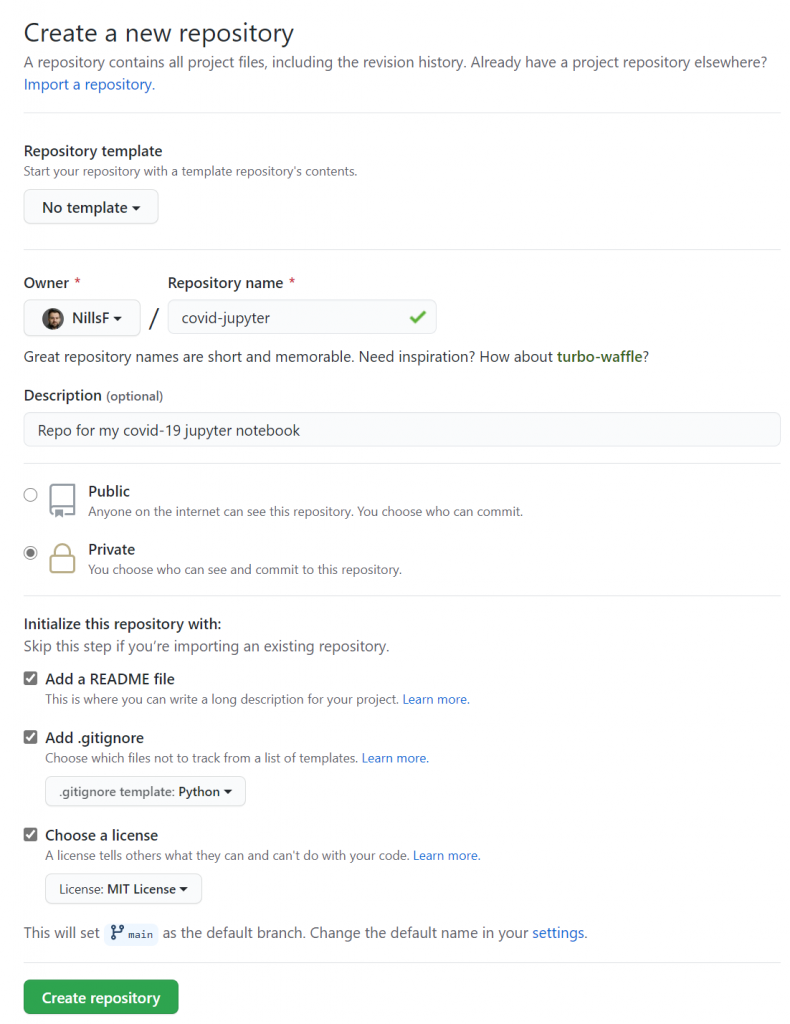
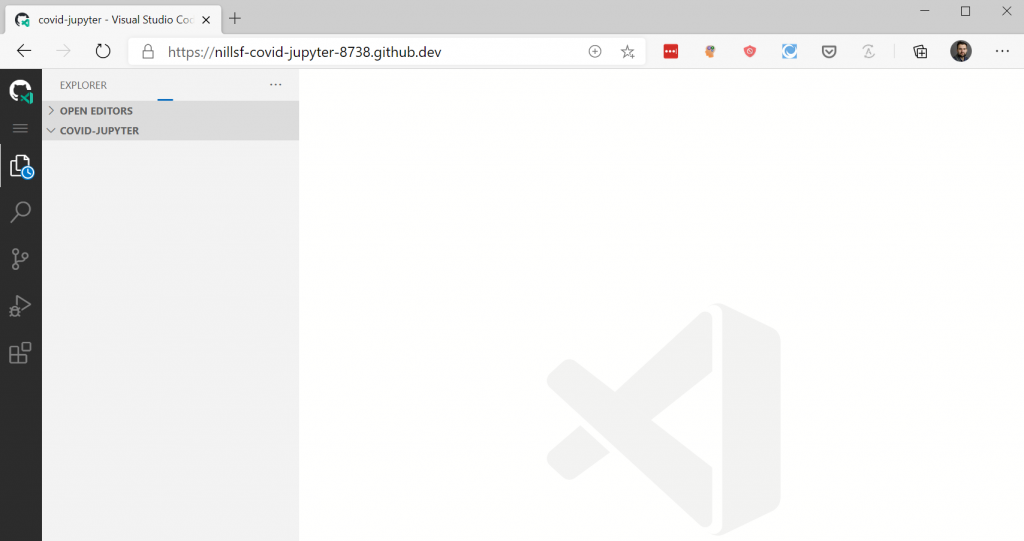
To get started, I spun up a new repo to host the Codespace. I could have done this on the repo of my blog itself but decided on a new dedicated repo.
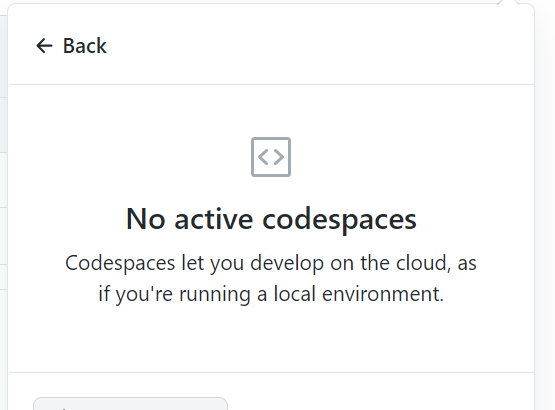
Let’s do nothing now in the repo (aka adding no code at all), and open a CodeSpace:
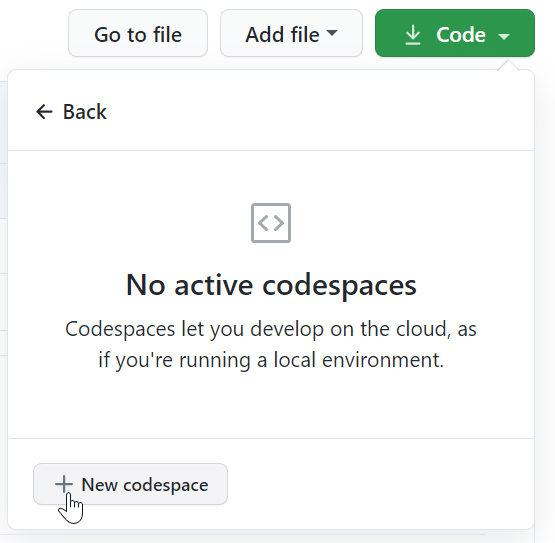
Once I clicked the new codespace button, this started initializing the repo and loading vscode.

Configuring the workspace
What we had in the getting started experience was an out-of-the box codespace. In my case, I want to configure it for Python3 and Jupyter Notebooks. Typically, to configure your codespace, you’ll use three files:
- Dockerfile: codespaces create a container to run your Codespace in. In the Dockerfile you can start from the right image, and install the required tools for you.
- devcontainer.json: Used for codespaces configuration.
- .vscode/settings.json: Used for configuration of VS Code.
In my case, I’m lucky that Microsoft did some of the work already for me with a pre-configured Python3-anaconda system that has Jupyter notebooks built-in. To use this configuration for my Codespaces, I’ll copy-paste all the documents I need in my git repo. I’ll do all of this from within the Codespace terminal (that’s the point, right?)
cd ..
git clone https://github.com/microsoft/vscode-dev-containers.git
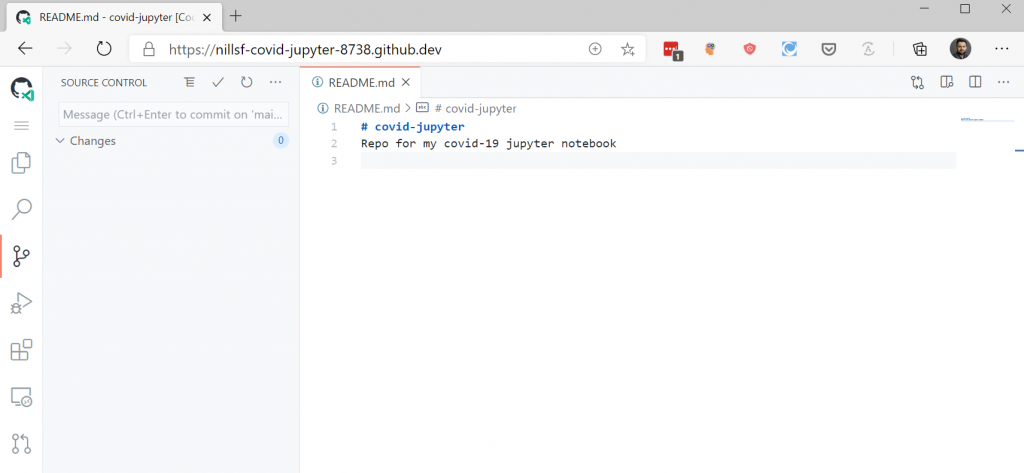
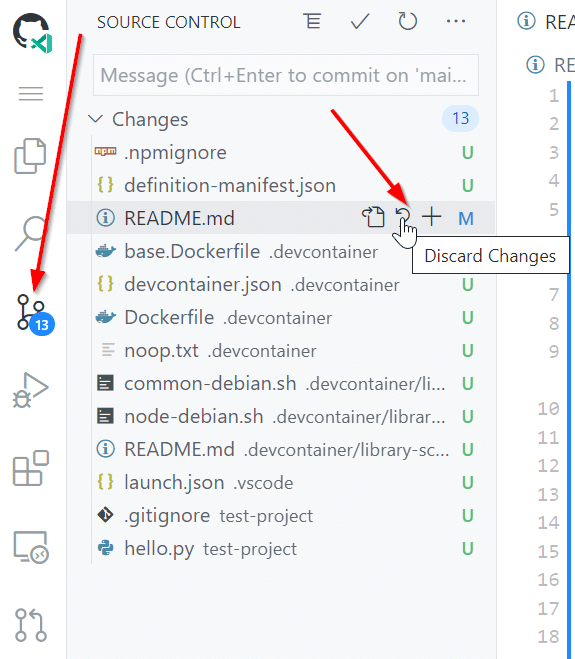
cp -rT vscode-dev-containers/containers/python-3-anaconda/ covid-jupyterThis makes the files available in my repo. It did overwrite my README.md file, which I’ll revert in the vscode git pane:
Once that is done, we’ll add all these changes to the actual GitHub repo rather than the copy in the container (ie. git push.
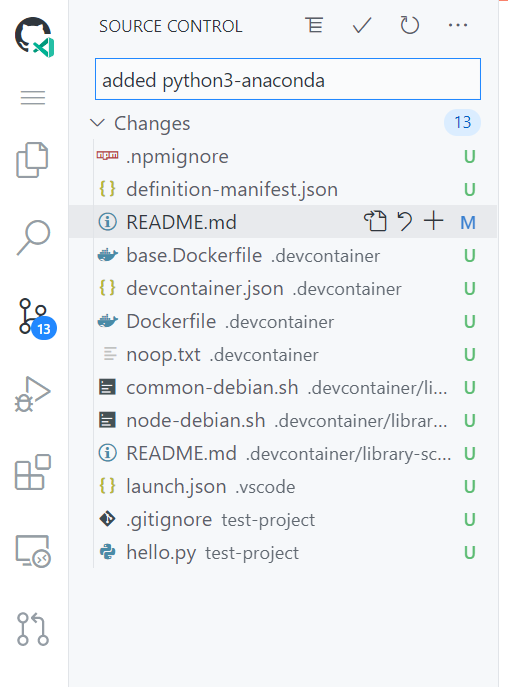
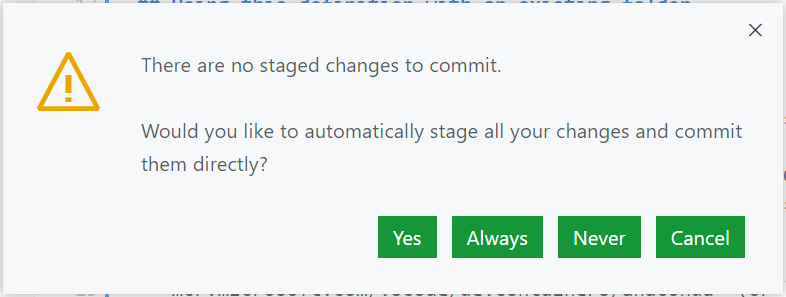
This asks about staging the changes for the commit. I simply hit yes to stage all the changes we made.
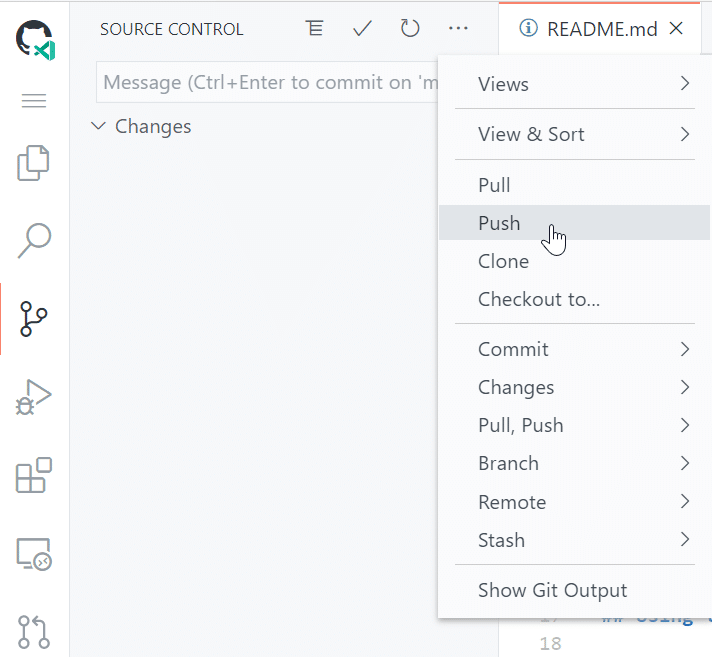
Don’t forget to also push the changes:
Now that the config files are updated, let’s restart the codespace.
Running the notebook in the Codespace
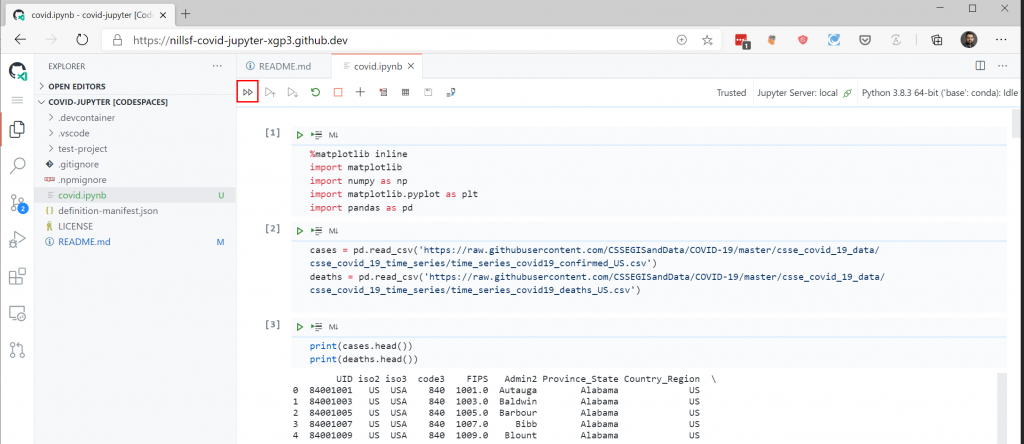
I have a notebook I use for my own personal covid analysis. I copy-pasted that notebook into the codespace, restarted the codespace (i.e. create a new instance that now uses the new config files we copy-pasted in), and had it run all cells.
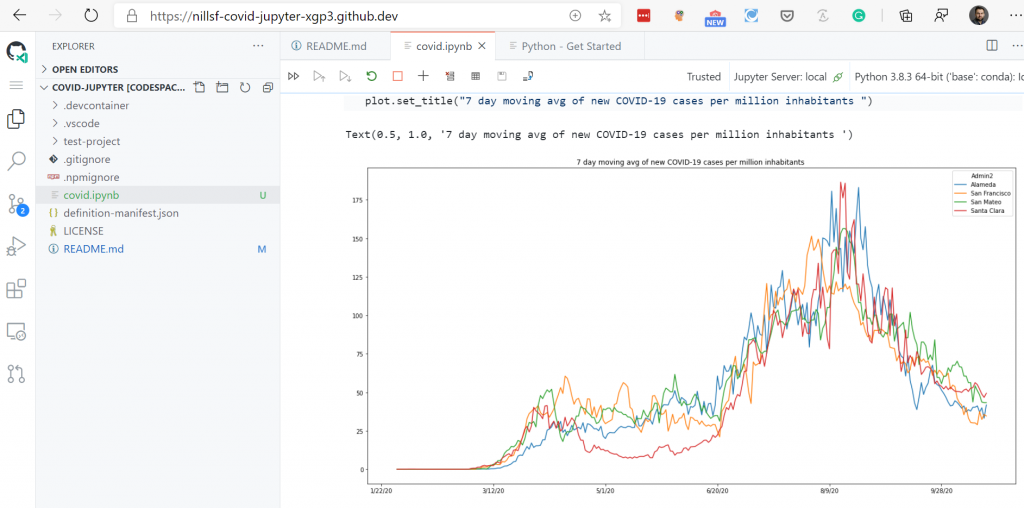
And this generates all the graphs I like to have a look at. For now, these charts make me a little bit happy, since the overall trend lately has been downwards.
Summary
Getting GitHub CodeSpaces running was very easy. The built-in codespace spun up in a couple seconds and was available. There’s a large library of pre-configured codespace templates that you can use for your specific environment. In my case, I could use the pre-built python-anaconda codespace to continue my COVID-19 analysis.