
There are two ways to pull/push from/to GitHub, when connecting from a remote system: either you use HTTPS or you use SSH. When connecting to a GitHub organization, the organization might have special requirements for the connection. For example, if I want to push updates to the github.com/azure organization, I need to use a password-protected SSH key.
The goal of this post is to explain three things:
- How to use an SSH key with GitHub
- How to use multiple SSH keys with GitHub
- How to enable an SSH key for SSO on GitHub
To explain everything, I’m using a new virtual machine, with nothing but git installed.
Let’s start with the first topic:
How to use an SSH key with GitHub
To use an SSH key with GitHub, you need to do three things:
- Create a new SSH key
- Share the public key with GitHub
- Clone the repo with the SSH URL
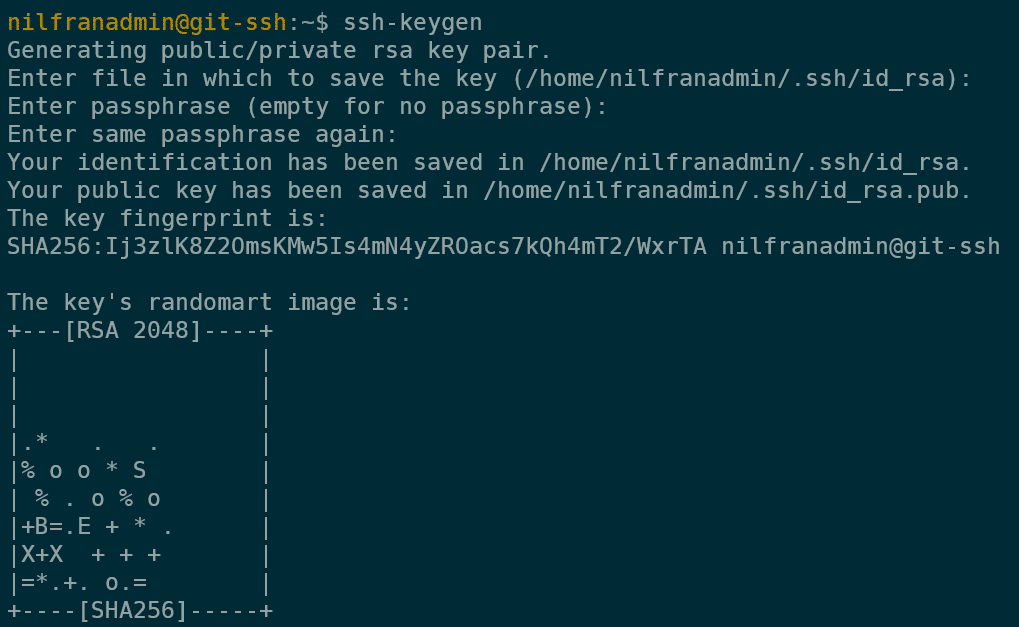
To create a new SSH-key, you can use the command-line tool ssh-keygen, as shown in the screenshot below. For the first key, I’ll use all the default values and won’t use a password:
The second step is to share the public key with GitHub. To do this, you first need the public key. To get is, you can use the following command:
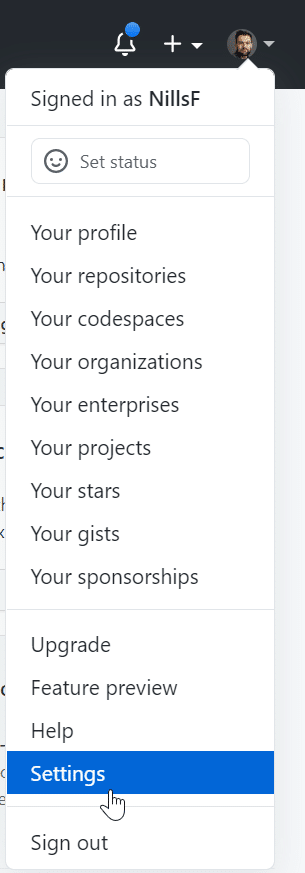
cat ~/.ssh/id_rsa.pubNow copy the output and head over to github.com. In the GitHub menu, select settings:
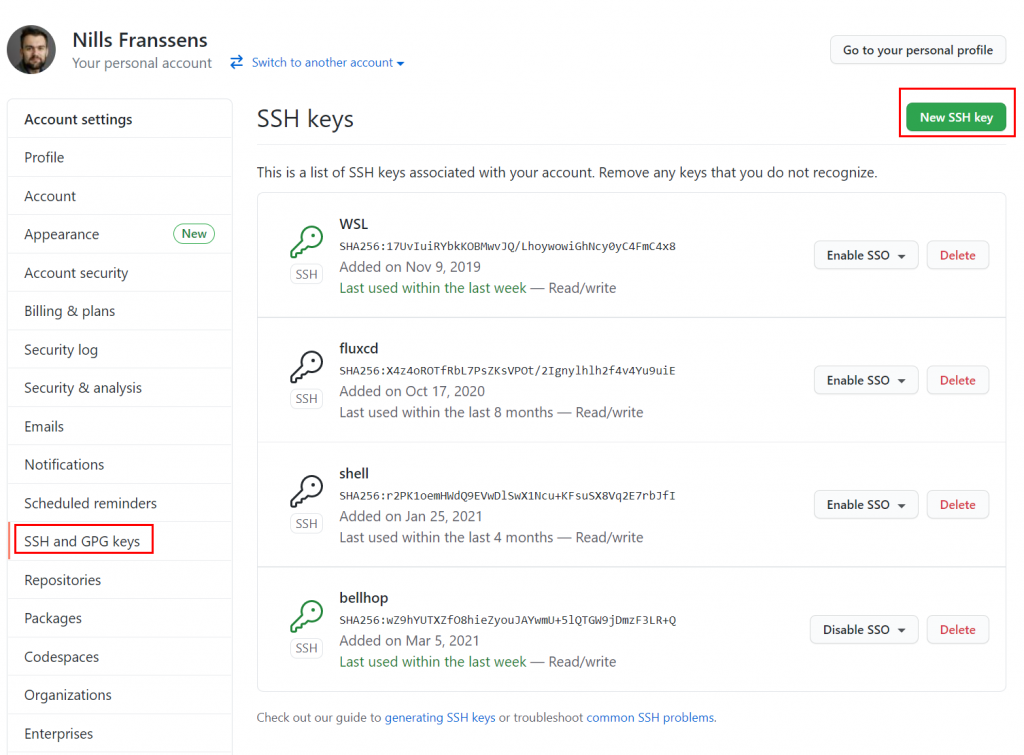
In setting, head over to “SSH and GPG keys” in the left-hand menu, and click on “New SSH key”. GitHub allows you to use multiple SSH keys for a single account:
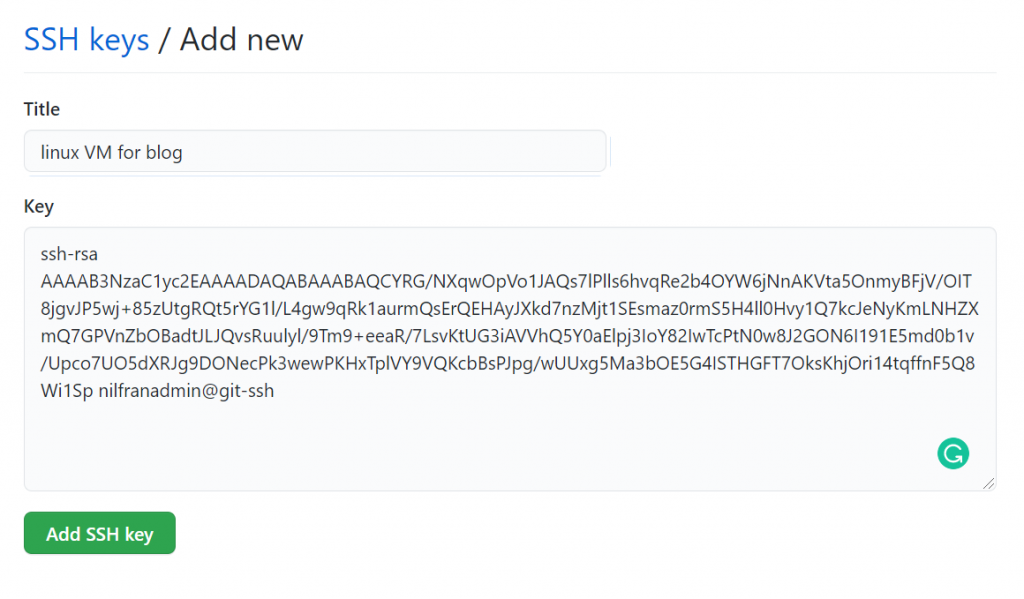
Here you can enter the new SSH key and give it a descriptive title. As you save the key, GitHub might ask you to input your password for additional security.
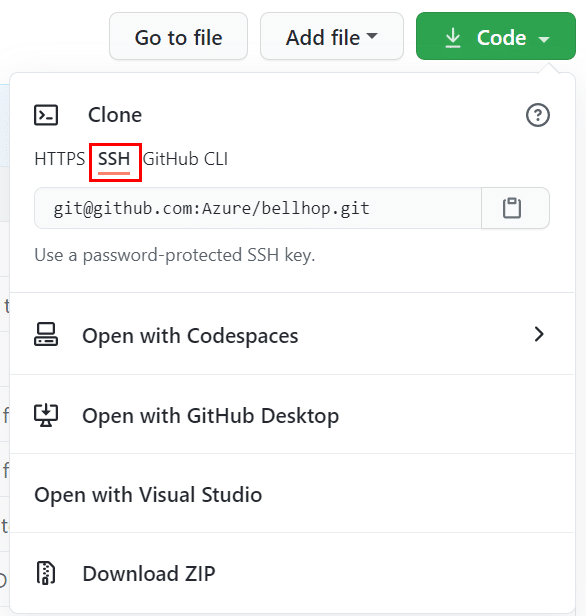
You can now use this key to clone git repos. To clone a repo using SSH, you need to select that option when you clone a repo as shown in the screenshot below:
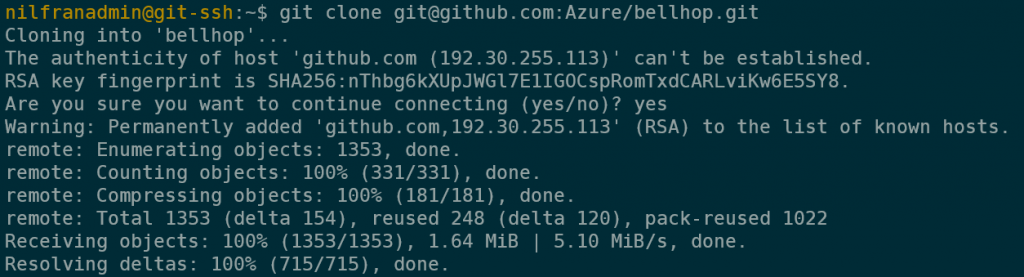
In the command line, you can now enter the git clone command and watch the repo get cloned:
git clone git@github.com:Azure/bellhop.gitIf this is the first time cloning from GitHub on that machine, you might get a question asking to confirm the authenticity of the remote host, which you can do by typing “yes” to that question.
The problem with a non-password protected SSH-key
This setup works fine to pull a repo, but it doesn’t allow pushing to that repo. This is for two reasons:
- The key isn’t authorized for SSO
- The key isn’t password protected.
To show this to you, I made a quick change in the cloned repo and tried pushing that change. That fails due to the key not being password protected and not being authorized for SSO.
git checkout dockerfile-updates
echo "test" > test.txt
git add .
git commit -m "test"
git push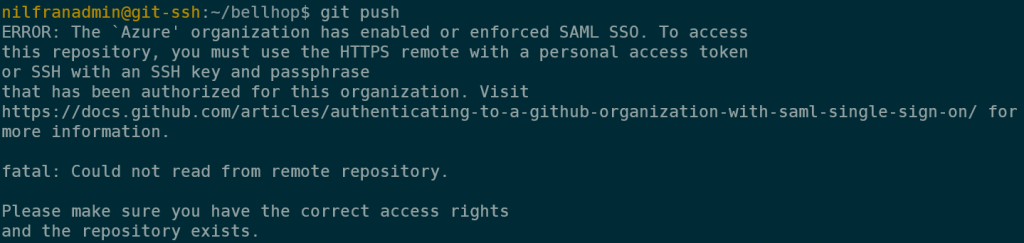
Let’s solve this issue! We’ll do two things here:
- Create a new SSH-key, and configure this git repo to use that new key
- Authorize the new SSH for SSO in GitHub.
How to use multiple SSH keys with GitHub
Let’s start by creating a new key, now password-protected, using the same ssh-keygen command:
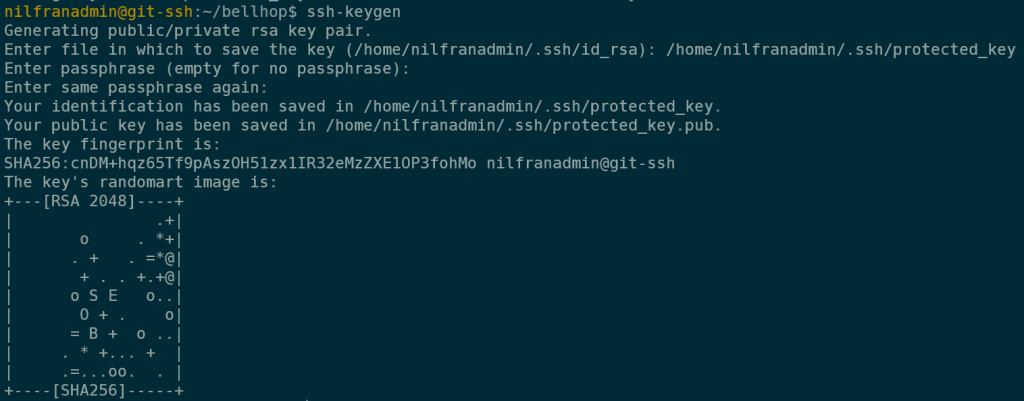
I called the key protected_key, and gave it a password (which you don’t see in the screenshot). Make sure to save the key in the .ssh folder.
Now, we’re going to configure SSH to use different keys based on the hostname. You could also use the protected key as the only key if you so please, but in my case, I want to keep using both keys. To do so, create a new file in the ~/.ssh folder called config. Input the following – or similar – to configure SSH to use different keys based on host:
# Personal repositories
Host github.com
HostName github.com
 User git
 IdentityFile ~/.ssh/id_rsa

# SSO repository
Host github.com-SSO
 HostName github.com
 User git
 IdentityFile ~/.ssh/protected_key
Next, in the repo you cloned you’ll have to replace the remote hostname. You can do that using the following command:
git remote set-url origin git@github.com-SSO:Azure/bellhop.gitNotice how you replaced github.com by github.com-sso.
One final step remains: authorizing this key for SSO:
How to enable an SSH key for SSO on GitHub
Now we need to authorize this key for SSO on GitHub. Follow the same steps as earlier to add the key to GitHub, meaning getting the public key and entering it in Github:
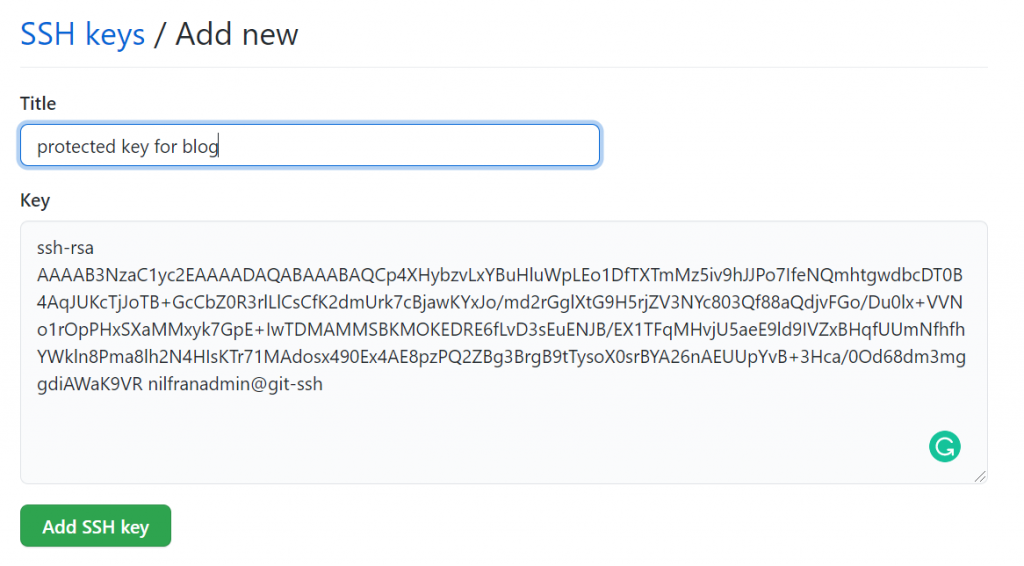
After you saved the key, you’ll see the option next to it to enable SSO for that key. In my case, I’ll enable SSO for the Azure org:

Now that the key is password-protected and it’s enabled for SSO, we should be able to push to the repo:
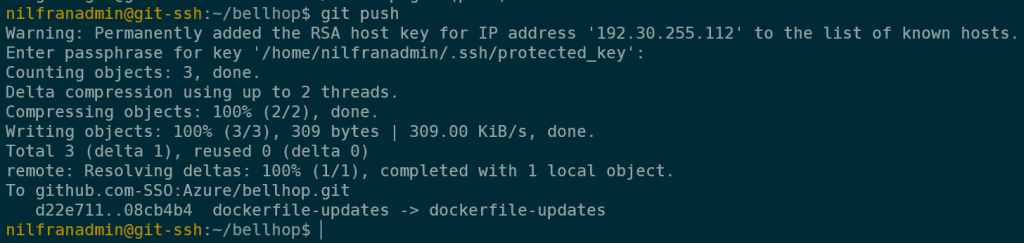
As you can see, this prompted for the password of the SSH key and then successfully allowed the push to complete.
Summary
In this post, you learned how to use multiple SSH keys with github.com. You also learned how to use a password-protected key to push to an organization with SSO enabled.