Containers and Kubernetes have traditionally been the area of Linux-based workloads. However, things have changed. Windows has supported Docker containers for a while now, and since Kubernetes 1.14, Windows support has been generally available in Kubernetes as well.
In this blog post, we’ll explore how you can add Windows nodes to a Kubernetes cluster running on Azure. After we’ve set up the cluster, we’ll have a look at how actual Windows containers can be created on the cluster.
Setting up the cluster
To run Windows containers on AKS, we’ll need the following:
- An AKS cluster
- (at least) 1 Linux Nodepool. This is used for running system components such as CoreDNS.
- A Windows Nodepool
Let’s create all of this using the Azure CLI:
# Create a resource group
az group create -n win-aks -l westus2

# Create the cluster, with the default linux nodepool
az aks create -g win-aks -n win-aks \
  --node-count 2 --ssh-key-value ~/.ssh/id_rsa.pub \
  --windows-admin-username nilfranadmin \
  --windows-admin-password superSecret123! \
  --network-plugin azure

# Create a second nodepool using Windows
 az aks nodepool add -g win-aks \
  --cluster-name win-aks \
  --os-type Windows --name winnp \
  --node-count 2
The second command will take some time to run (about 15 minutes), but after a while, we will be able to go ahead and schedule Windows containers. While you’re waiting for the node pool to be added, let’s explore how we need to tell Kubernetes to schedule a Windows workload on Windows nodes.
A little info about labels and nodeSelectors
Once you have a cluster with both Linux and Windows nodes, you should be able to run kubectl get nodes -o wide and see you now have nodes with a Windows operating system:

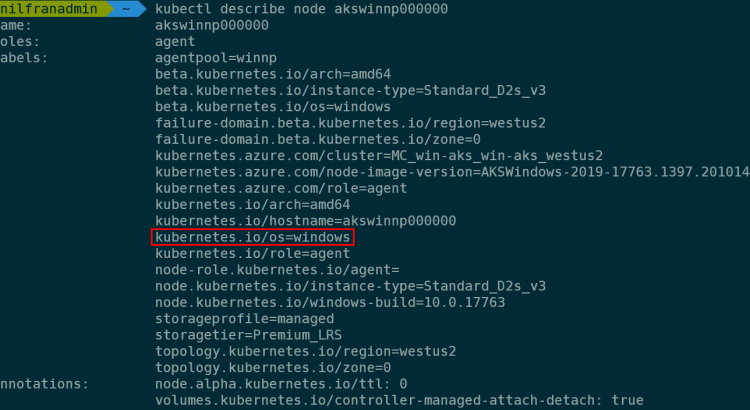
What’s more, these nodes are also labeled with their OS information. To see those labels, run a kubectl describe node <windows-node-name>:
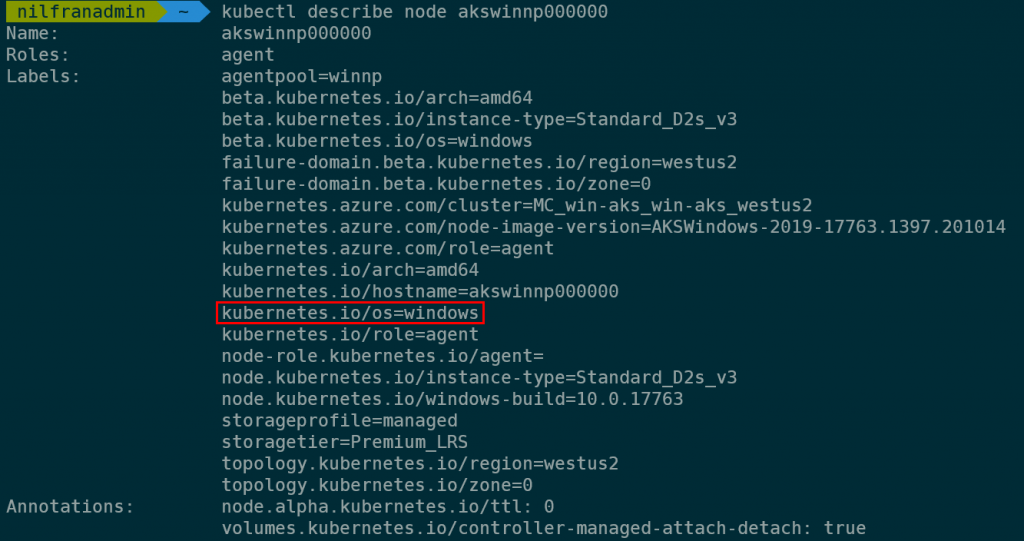
To schedule pods on a Windows node (or a Linux node for that matter) you’ll have to set a nodeSelector in the pod definition. In the node selector, you define which labels on the nodes need to be met to schedule pods on certain nodes. In case of the operating system, we’ll set the kubernetes.io/os label to Windows in the nodeSelector.
What’s important to note here: if you run in a mixed cluster (with both Linux and Windows nodes and workloads), you need to include the nodeSelector for both Windows and Linux workloads. Otherwise, Kubernetes might schedule Linux pods on Windows nodes (or vice-versa), and that will lead to issues.
Let’s have a look at how to do that:
How to schedule pods on Windows nodes
As mentioned in the previous section, to schedule a pod on a Windows node, you need to include a nodeSelector in your workload definition. An example of that below (code is also available on GitHub):
apiVersion: apps/v1
kind: Deployment
metadata:
  labels:
    app: win-webserver
  name: win-webserver
spec:
  replicas: 2
  selector:
    matchLabels:
      app: win-webserver
  template:
    metadata:
      labels:
        app: win-webserver
      name: win-webserver
    spec:
     containers:
      - name: windowswebserver
        ports:
        - containerPort: 80
          name: http
          protocol: TCP
        - containerPort: 443
          name: https
        image: mcr.microsoft.com/windows/servercore/iis:windowsservercore-ltsc2019
     nodeSelector:
      kubernetes.io/os: windows
This will create a deployment, containing 2 IIS web servers. To verify that things work well, let’s also include a service to route traffic to these IIS servers. Note how the service definition isn’t any different for Windows vs Linux workloads.
apiVersion: v1
kind: Service
metadata:
  name: win-webserver
  labels:
    app: win-webserver
spec:
  selector:
    app: win-webserver
  ports:
  - port: 80
    targetPort: 80
  type: LoadBalancer
We can deploy both using: kubectl create -f . .
It will take a while for the pods to spin up since Windows images are generally a bit bigger than Linux images. But after a couple of minutes, you should see your Windows pods running, which you can confirm using kubectl get pods -o wide:

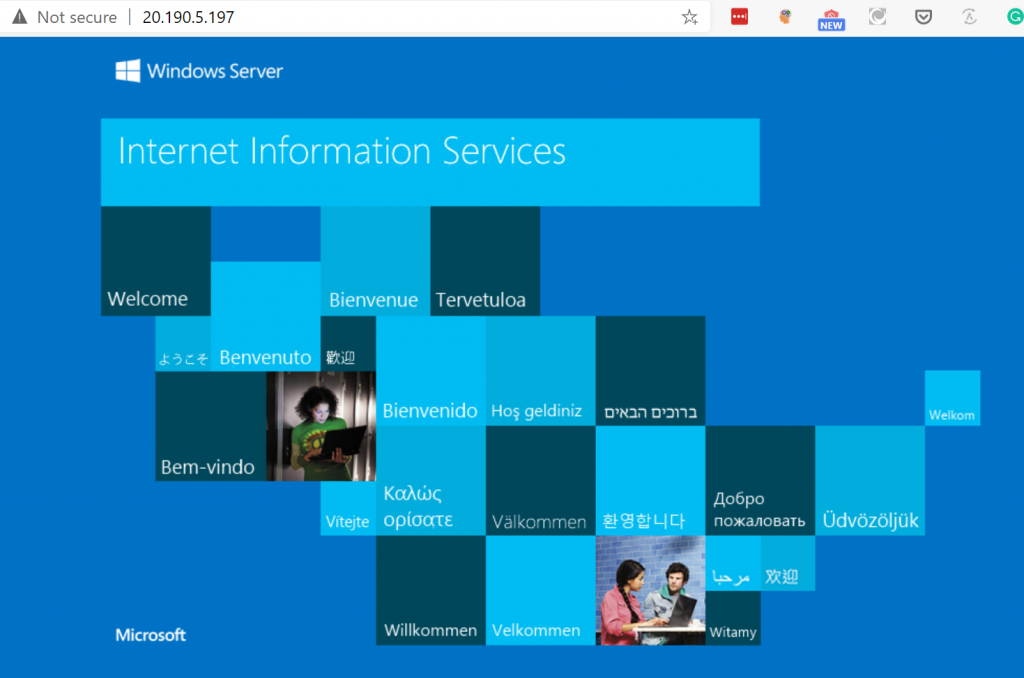
And we can now also browse to the service. To get its public IP, use kubectl get svc:

And if we browse to that IP, you can see a glorious IIS web server running on Kubernetes:
And that’s how you run Windows containers on AKS.
Conclusion
In this blog post, we looked into how to run Windows containers on the Azure Kubernetes Service (AKS). We created a new AKS cluster, and we added a Windows nodepool. After that, we scheduled an actual workload on the nodes in that pool. To do this, we used the nodeSelector in the pod definition.
If you’re interested to take this one step further and also run Windows pods on ACI instances using the virtual kubelet, check out this blog post.